
MAIN WORKSPACE IN DEPTH
How to use this PDS section: This PDS manual section gives you a closer look at using the calendar, participant caseload, and tasklist features in the main workspace.
I.The Main Workspace
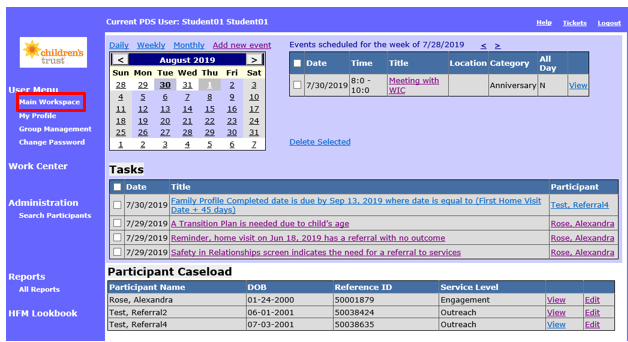
The Main Workspace is the first page you see each time you log in to PDS. To get back to the Main Workspace from any other PDS page, click Main Workspace on the left side of the screen.
II.Calendar
1. The calendar helps keep track of tasks, appointments, etc., that are not time-sensitive program components like required screens or family information forms.
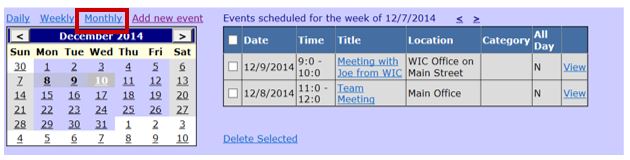
2. Click the links across the top of the calendar to access your information in varying formats:
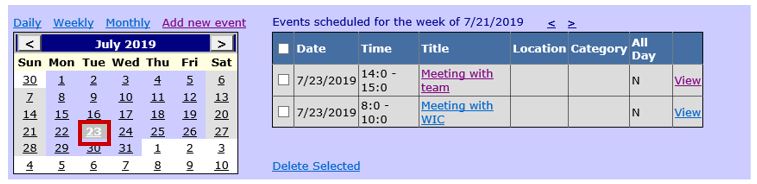
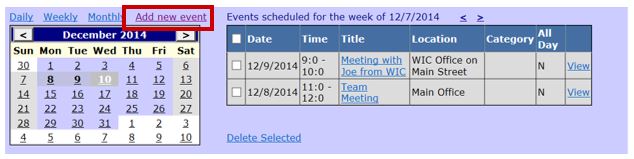
2.1 Select any day in the month to see all scheduled appointments for that day. In the example below, the user is looking at all appointments for July 23, 2019.
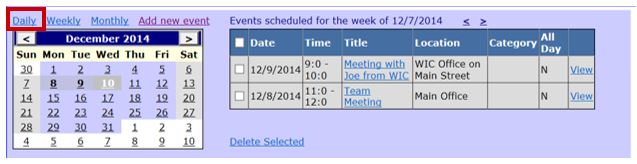
2.2 Select Daily to see all scheduled appointments for the current day.
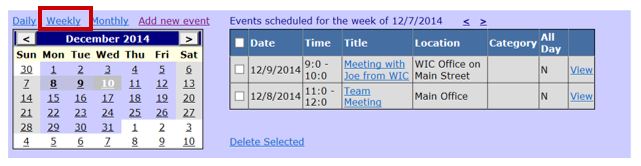
2.3 Select Weekly to see all scheduled appointments for the current week.
2.4 Select Monthly to see all scheduled appointments for the current month.
2.5 Scroll forward/Back up by using the arrows on either side of the month/year calendar header to move between months.

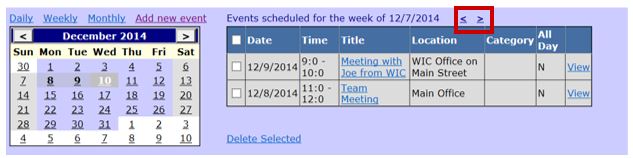
2.6 Advance a week by using the arrows next to the Events scheduled for the week of header.
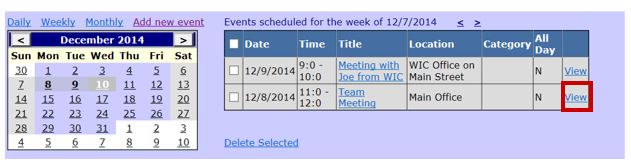
2.7 Select View to view the details of any item.
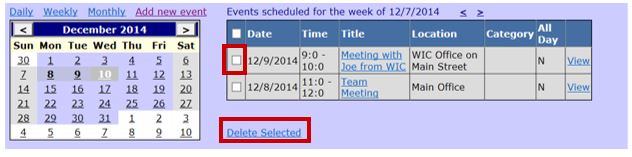
2.8 You can delete any item by clicking in the checkbox next to the item and then clicking Delete selected.
2.9 Add items to the calendar by clicking Add new event.
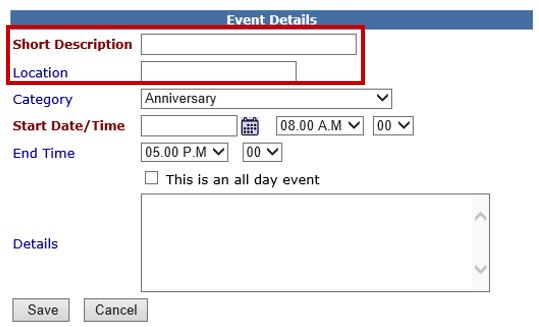
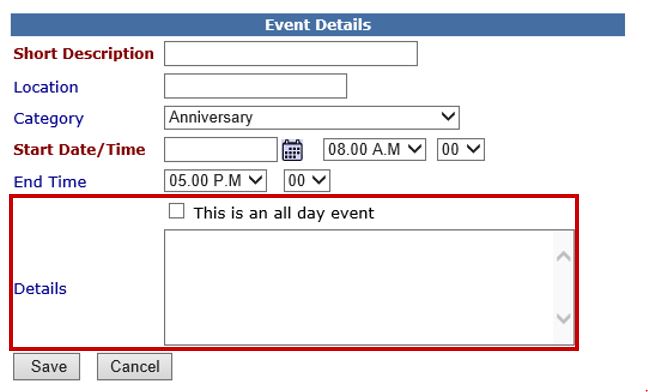
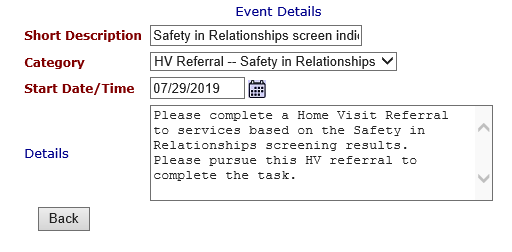
3. To add a new calendar appointment, enter the following information in the “Event Details” section.
3.1 *Short Description: Enter the name or a short description of the event.
3.2 Location: Enter the location of the event.
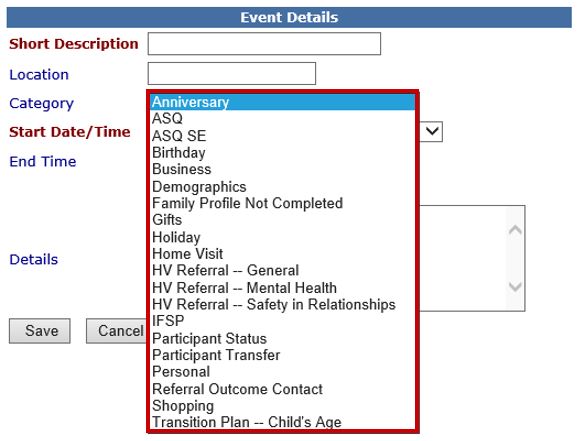
3.3. Category: Select the appropriate event category from the drop-down menu.
3.4 *Start Date: Click the calendar icon to select the event date using the calendar.
3.5 *Start Time: Select the event start time from the drop down menu. Select the hour from the drop down menu on the left and the minutes from the drop down menu on the right.
3.6 End Time: Select the event end time from the drop down menu. Select the hour from the drop down menu on the left and the minutes from the drop down menu on the right.
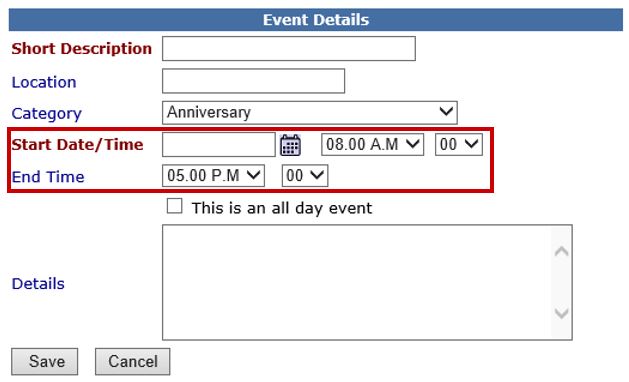
3.7 This is an all day event: Select this box if you will be attending an all day event.
3.8 Details: Enter any details or reminders you want to record for the event.
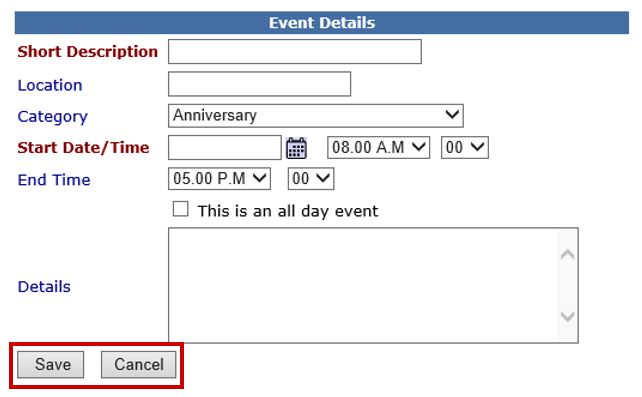
3.9 Save: Click to save the event and return to the Main Workspace.
3.10: Cancel: Click to return to the Main Workspace without saving.
III.Participant Caseload
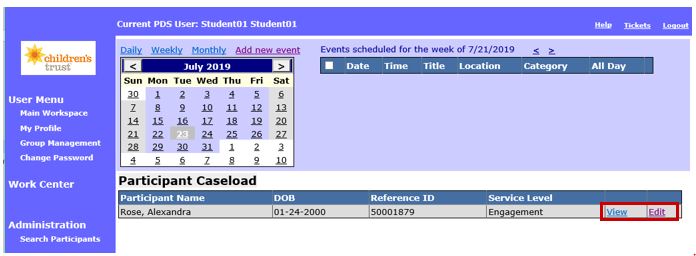
1. Active primary participants will appear in the “Participant Caseload” section with their date of birth, Reference ID, and Service Level.
2. Click View to view participant records with creating or changing records. Click Edit to edit records.
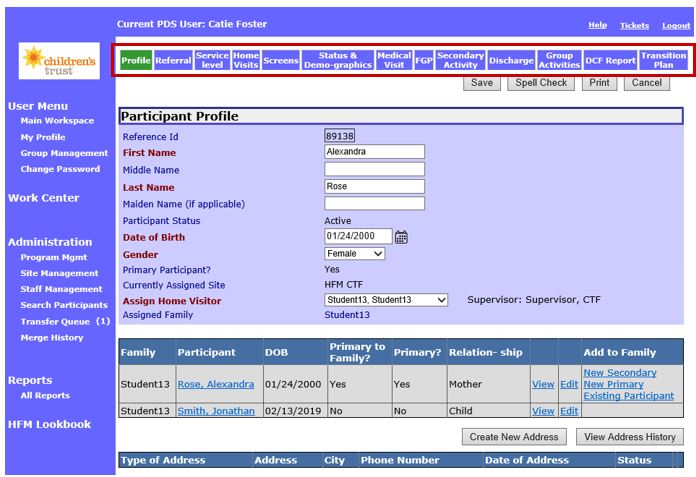
3. Once you have selected your action, you will be in the Participant Profile page. To select a participant-related record, click into one of the tab links across the top of the Profile page. The tab that you are viewing will be green.
IV.Tasklist
The tasklist displays important and time-sensitive PDS actions that need to be addressed. This list is a helpful way to keep track of pending deadlines and follow-up needed for participants. However, the tasklist only shows four types of tasks, not every action you need to complete in PDS. It is important for home visitors to regularly review participant records and the Work Center for follow-up and upcoming documentation deadlines.
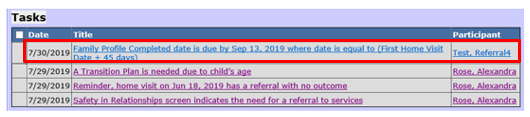
1. The “Tasks” section shows the date a task was created, a short description of the task, and the participant associated with the task. Tasks appear in this list until they are completed.
2. Click on the name of the task to display the full task description.

3. You will see the full task details.
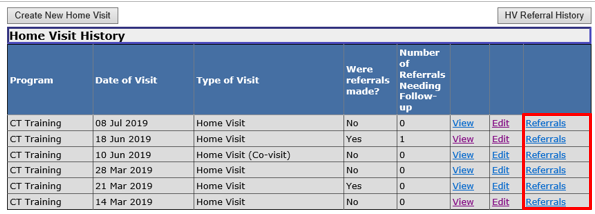
4. To resolve a task, click the participant’s name to jump to the PDS page where you can address the task. In the example below, clicking on the participant’s name takes the user to the Home Visits Referrals page where the user can record a referral offer.

5. Below are the four types of tasks that appear on the tasklist. For each task to appear, participant records need to meet certain criteria.
5.1 Family Profile Completion: A task will appear if:
If an active participant is assigned as Assign Service Level, Transfer or Re-enroll AND
An initial (or more) home visit has been recorded in PDS AND
Date Family Profile completed is empty on the Initial Status record AND
It is no more than 45 days since the date of the first home visit
For more information, see the instructions for Creating Participant Status and Demographic Records.
5.2Transition Plan: A task will appear if:
A Transition Plan does not exist with Child’s Age recorded under Reason for Transition AND
A family child is greater than or equal to 30 months old

For more information, see the instructions for Creating a Transition Plan.
5.3Home Visit Referral Outcome: A task will appear if:
A home visit referral exists with the Outcome of Referral recorded as Expressed interest in referral AND
A Referral Outcome has not been selected

For more information, see the instructions for Adding a Referral to a Home Visit Record.
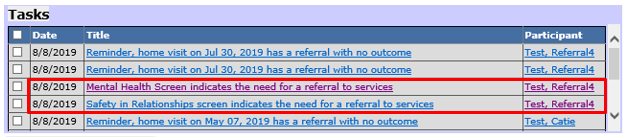
5.4Referral to Services: This task will appear if:
A Mental Health OR a Safety screening has been completed with an outcome that indicates a need for referral. (On the Screens tab, these screens are labeled Y or YI.) AND
There are no Home Visit referrals to services documented with a date that is later than (after) the date of the screening.
To resolve this task, the referral type recorded in the Home Visit record must be either “Result of Mental health screening” (for Mental Health screening) or “Result of Safety in Relationships screening” (for Safety screening).
For more information, see the instructions for Adding a Referral to a Home Visit Record.
Main Workspace in Depth (Sept 2019)
©2019 MA Children's Trust