
GETTING STARTED IN PDS
How to use this PDS section: The instructions in this PDS manual section will orient you to using the system and moving through different sections.
There are several sets of instructions in this manual section.
I. Logging in to PDS
II. Logging off of PDS
III. Views and Menus
IV. Work Center
V. Administration
VI. Guidance for Successful Documentation in PDS
I. Logging in to PDS
You are ready to begin working in PDS. While you have already reviewed PDS as part of your orientation to the home visiting program, now you will access PDS as a user. Your supervisor will already have a username and password for you to get started.
1. Open your Internet Browser (Microsoft Edge or Google Chrome preferred).
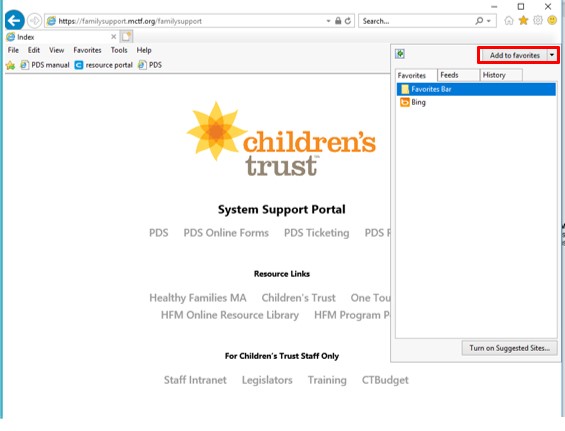
2. Type in the URL for the Children’s Trust Family Support Portal: https://familysupport.mctf.org/familysupport. This is the webpage used to access PDS, PDS Online Forms, PDS Ticketing System, PDS Reports as well as many Children’s Trust resources. For convenience, you can bookmark the site by clicking on Add to favorites.
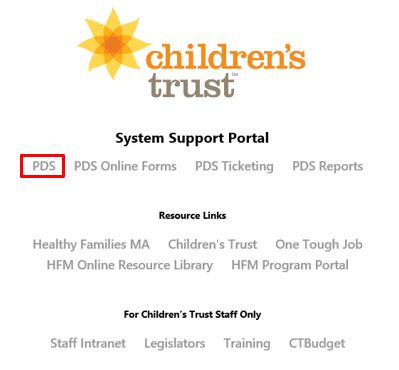
3. Click on the PDS link to navigate to the login screen.
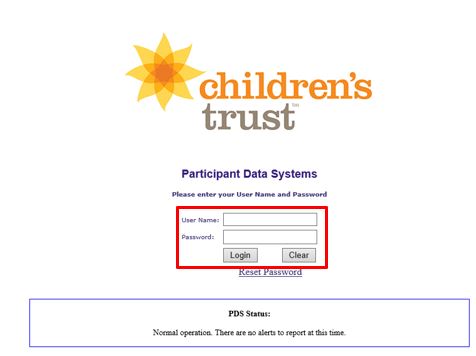
4. When you reach the log in screen, enter your username and password and click Login.
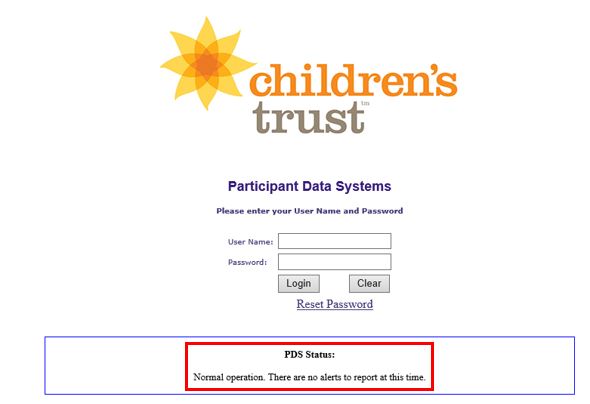
5. Under the user name and password boxes you will see a box with PDS status notifications. If the PDS system is down or scheduled for maintenance, this box will give users details about the situation. In the example below, PDS is operating normally and there are no system issues to report.
II. Logging Off of PDS
When you are finished using PDS, or need to leave your desk for any period of time, you must end the PDS session by logging-off the system. This preserves confidentiality by making sure that no one can view or modify records for which they do not have access.
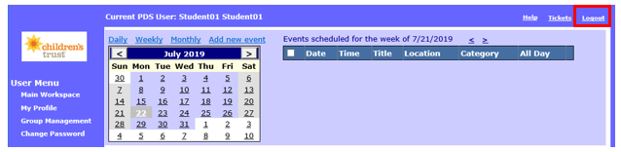
1. To log-off, click on the Logout link at the top right of the screen.
2. You will know you are successfully logged out when the PDS Login screen re-appears.

III. Views and Menus
You will see the Main Workspace in PDS each time you log in. Based on your user rights, you will see different navigation links on the left side of the screen. Each of the links is explained below.
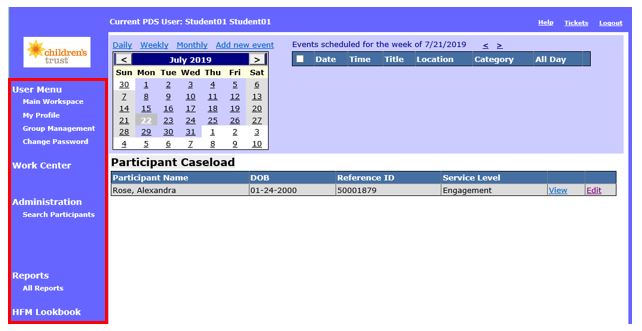
A. Main Workspace
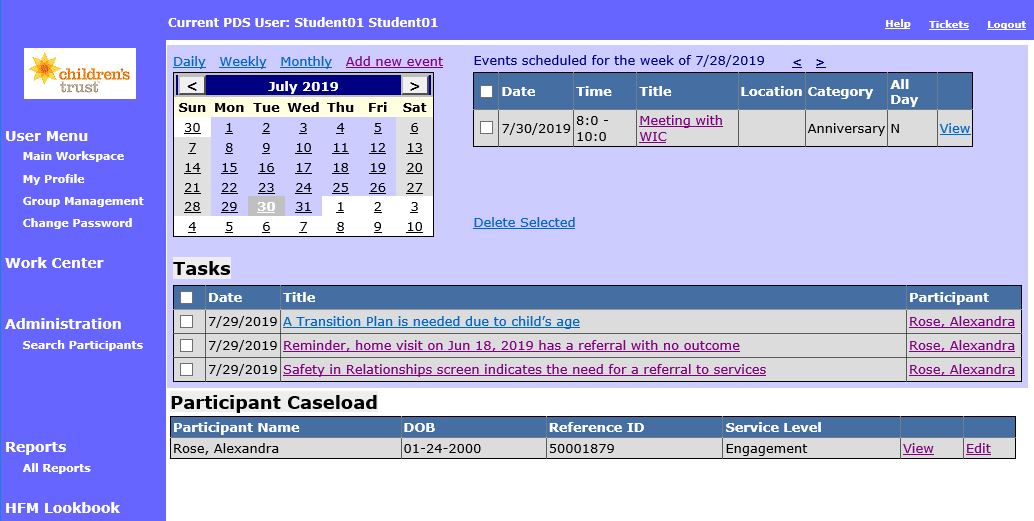
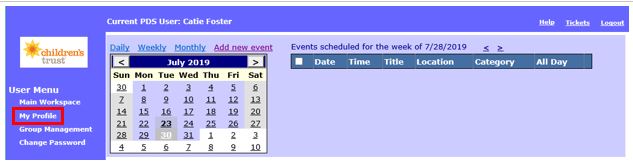
1. The Main Workspace is the first thing you will see each time you log in to PDS. If you are a home visitor your Main Workspace will look like the examples below.
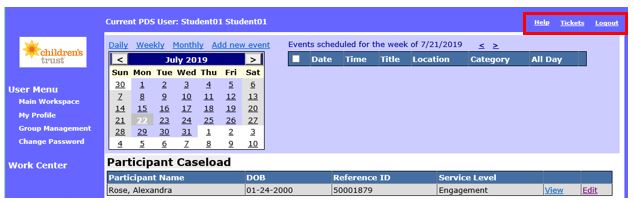
2. On the top right you will see links to Help, Tickets, and Logout.
3. In the middle of the page you will see your calendar, participant caseload, and tasklist. See Main Workspace in Depth for instructions on using each of these sections.
B. My Profile
You can update your account information from the My Profile page. When you access PDS for the first time, click My Profile.
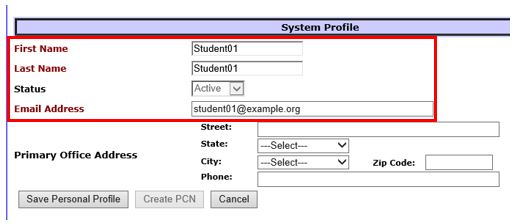
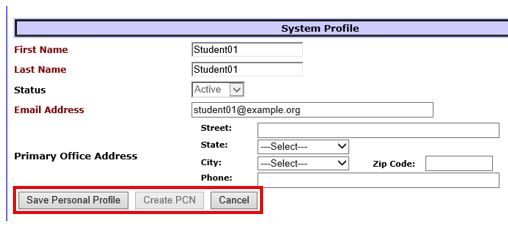
1. Your profile should already have some basic information about you in the “System Profile” section. It is important to keep this information, especially your email address, up-to-date.
2. If at any point you need to update this information, enter the following information in the “System Profile” section.
2.1 First Name: Enter your first name.
2.2 Last Name: Enter your last name.
2.3 Status: This field is greyed out and cannot be edited.
2.4 Email address: Enter the email address you use for HFM activities. This email should always be kept updated since this is the address that PDS password change emails are sent to.
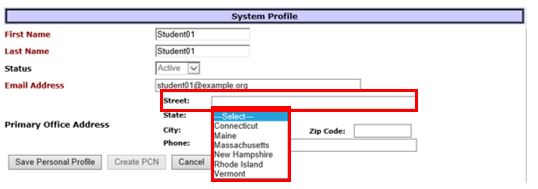
2.5 Street: Enter the street of your primary office address.
2.6 State: Select your primary office address’s state from the dropdown menu.
2.7 City: Select your office’s city from the drop down menu. The menu will populate with cities based on the state you selected in the State drop down menu.
2.8 Zip code: Enter your office’s zip code.
2.9 Phone: Enter your office’s phone number.
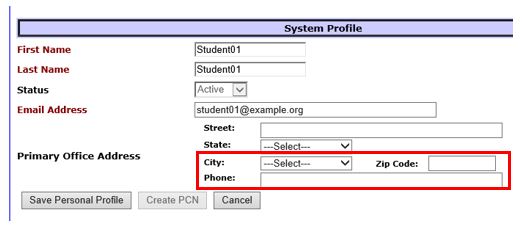
3. Save Personal Profile: Click to save and return to the Main Workspace.
4. Cancel: Click to return to the Main Workspace without saving.
5. Enter information in the “PDS Personal Information” section. It is not required to enter information in this section.
5.1 Most recent hire/rehire Date: This information will auto-populate based on when you were hired or re-hired to an HFM program.
5.2 Termination Date: This auto-populates as N/A for current PDS users.

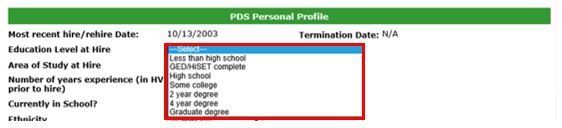
5.3 Education Level at Hire: Select your level of education when you were hired
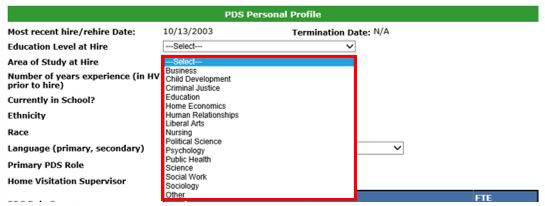
5.4 Area of Study at Hire: Select the area you had studied prior to being hired. If you studied in more than one area before being hired, select the area that was your primary focus.
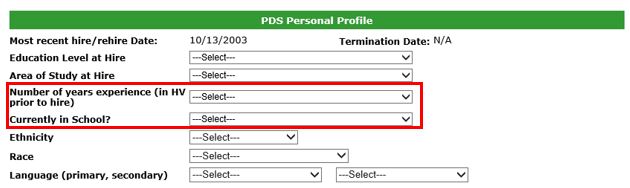
5.5 Number of years experience in HV prior to hire: Select the number of years of experience in home visiting you had prior to being hired. Select from less than one year to 50 years.
5.6 Currently in School: Select the appropriate response based on your current school status:
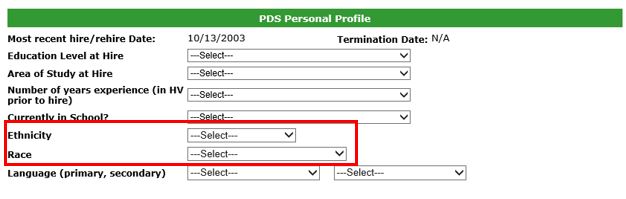
5.7 Ethnicity: Select the appropriate response based on how you identify your ethnicity:
5.8 Race: Select the appropriate response based on how you identify your race.
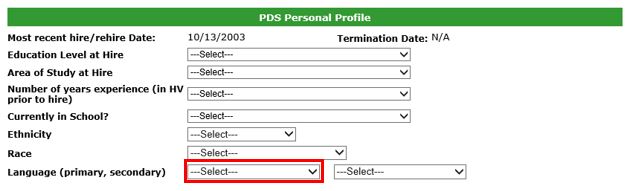
5.9 Language (primary, secondary): Select your primary and secondary (if applicable) language(s) from the dropdown lists.
5.9.1 Select your primary language from the box on the left.
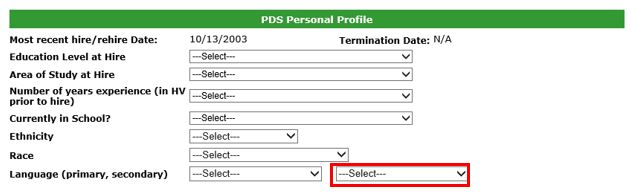
5.9.2 Select your secondary language from the box on the right.
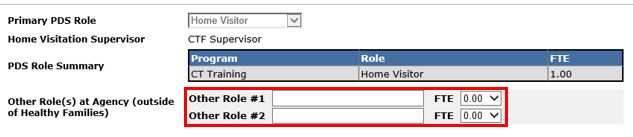
5.10 Primary PDS Role: This field will auto-populate with your PDS role, which determines your user rights in the system.
5.11 Home Visitation Supervisor: This field will auto-populate based on your supervisor assigned in PDS.
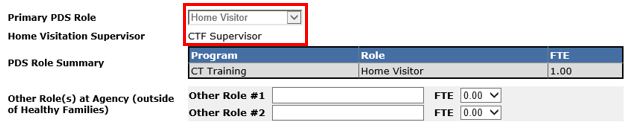
5.12 PDS Role Summary: This table will auto-populate based on the history of your PDS role changes and full time equivalency (FTE) status. For example, if you are hired as a part-time home visitor and later become a full-time home visitor, you will see entries showing your FTE changes.

5.13 Other Role(s) at Agency (outside of Healthy Families): Enter any other roles at your agency outside of HFM. You may enter up to two other roles.
5.13.1 Enter the name of your role in the text box.
5.13.2 Select the amount of FTE for your role. You may select between 0.01 and 1.00 FTE.
5.14 Supervisors with Active Caseloads: This list will display all supervisors at your site who have active caseloads. Click on any supervisor’s name to compose an email to him/her.
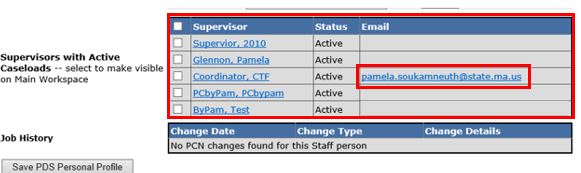
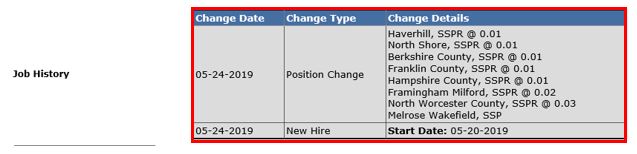
5.15 Job History: This list will auto-populate with any changes in your job history. For example, if you are hired as a home visitor and later become a supervisor, both job roles will appear in the Job History table.
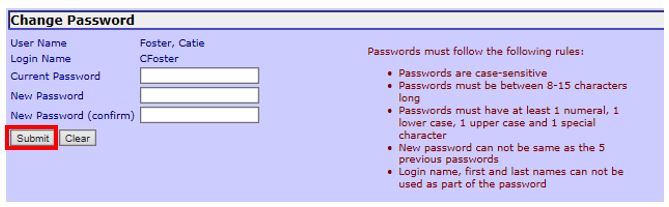
C. Change Password
1. You can change your password at any time from the Main Workspace. Click Change Password.
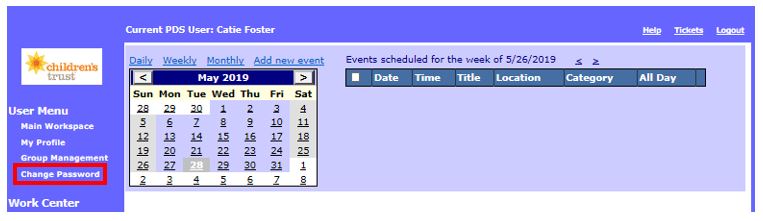
2. Your user name and login name will auto-populate. Enter your current password and your desired new password, followed again by the new password. Click Submit.
Your PDS password must:
IV. Work Center
Click Work Center to go to your Work Center. See Work Centers for more information on using these pages.
V. Administration
Click Search Participant to search for participants in your HFM program. See instructions for Creating a Participant.
VI. Guidance for successful documentation in PDS
1. Notes box are limited to 750 characters (1000 characters in the Home Visit Summary). This is approximately one half of a page of typed text including letters, numbers, spaces, and punctuation. PDS will not allow a record to be saved if the character maximum is exceeded.
2. Commonly used abbreviations may be used for nouns (people, places, and things). However, narrative and descriptive response should be written in long hand in order that PDS reviewers can accurately understand the record. For example, “Participant is BF” should be written out as “Participant is breastfeeding.”
3. Below are some commonly used abbreviations:
|
Description |
Abbreviation |
|
Ages and Stages Questionnaire |
ASQ |
|
Birth Control |
BC |
|
Boyfriend |
BF |
|
Department of Children and Families |
DCF |
|
Early Head Start or Head Start |
EHS\HS |
|
Early Intervention |
EI |
|
Family Goal Plan |
FGP |
|
Father of Baby |
FOB |
|
General Education Diploma |
GED |
|
Girlfriend |
GF |
|
Health Insurance Portability and Accountability Act |
HIPAA |
|
High School |
HS |
|
High School Equivalency Test (formerly General Education Diploma) |
HiSET |
|
Home Visitor |
HV |
|
Intrauterine device |
IUD |
|
Maternal Grandfather (child) |
MGF |
|
Maternal Grandmother (child) |
MGM |
|
Mother of Baby |
MOB |
|
Parent-Child Interaction |
PCI |
|
Paternal Grandfather (child) |
PGF |
|
Paternal Grandmother (child) |
PGM |
|
Primary Care Provider |
PCP |
|
Sudden Infant Death Syndrome |
SIDS |
|
Supplemental Security Income |
SSI |
|
Temporary Assistance for Needy Families |
TANF |
|
Women, Infants, and Children |
WIC |
4. Other acceptable documentation practices:
Getting Started in PDS (Sept 2019)
©2019 MA Children's Trust