
CREATING AND UPDATING A FAMILY GOAL PLAN
How to use this PDS section: The Family Goal Plan (FGP) allows participating families to focus their skills and resources and provides home visitors with a guide for their work with families. Use PDS to document each family’s FGP and their progress toward achieving these goals.
Why this information is important: Home visitors have the opportunity at each visit to identify family strengths and assist families in using those strengths to set and achieve goals. Home visitors work collaboratively with families to develop goals and document them in an FGP.
HFM policies related to this PDS section: Goal Setting and the Family Goal Plan Policy
Step-by-Step Instructions
Fields with an asterisk (*) are required.
There are three sets of step-by-step instructions in this PDS manual section.
I. Creating a new FGP
II. Adding Goals to an FGP
III. Following up on Goals
I. Creating a new FGP
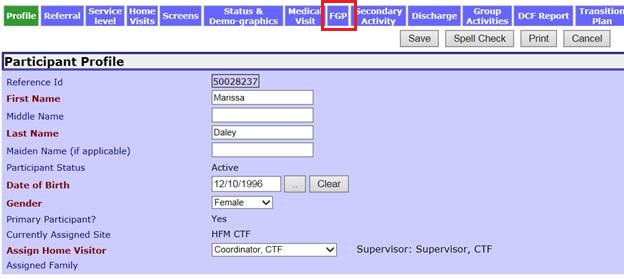
1. In the participant’s record click on FGP at the top of the screen.
Alternatively, see the Creating a Home Visit section of the PDS manual for instructions on navigating to the FGP page using the Jump To feature in the home visit record.
2. Click Create New FGP.

3. Enter the following information in the “FGP General Information” section:
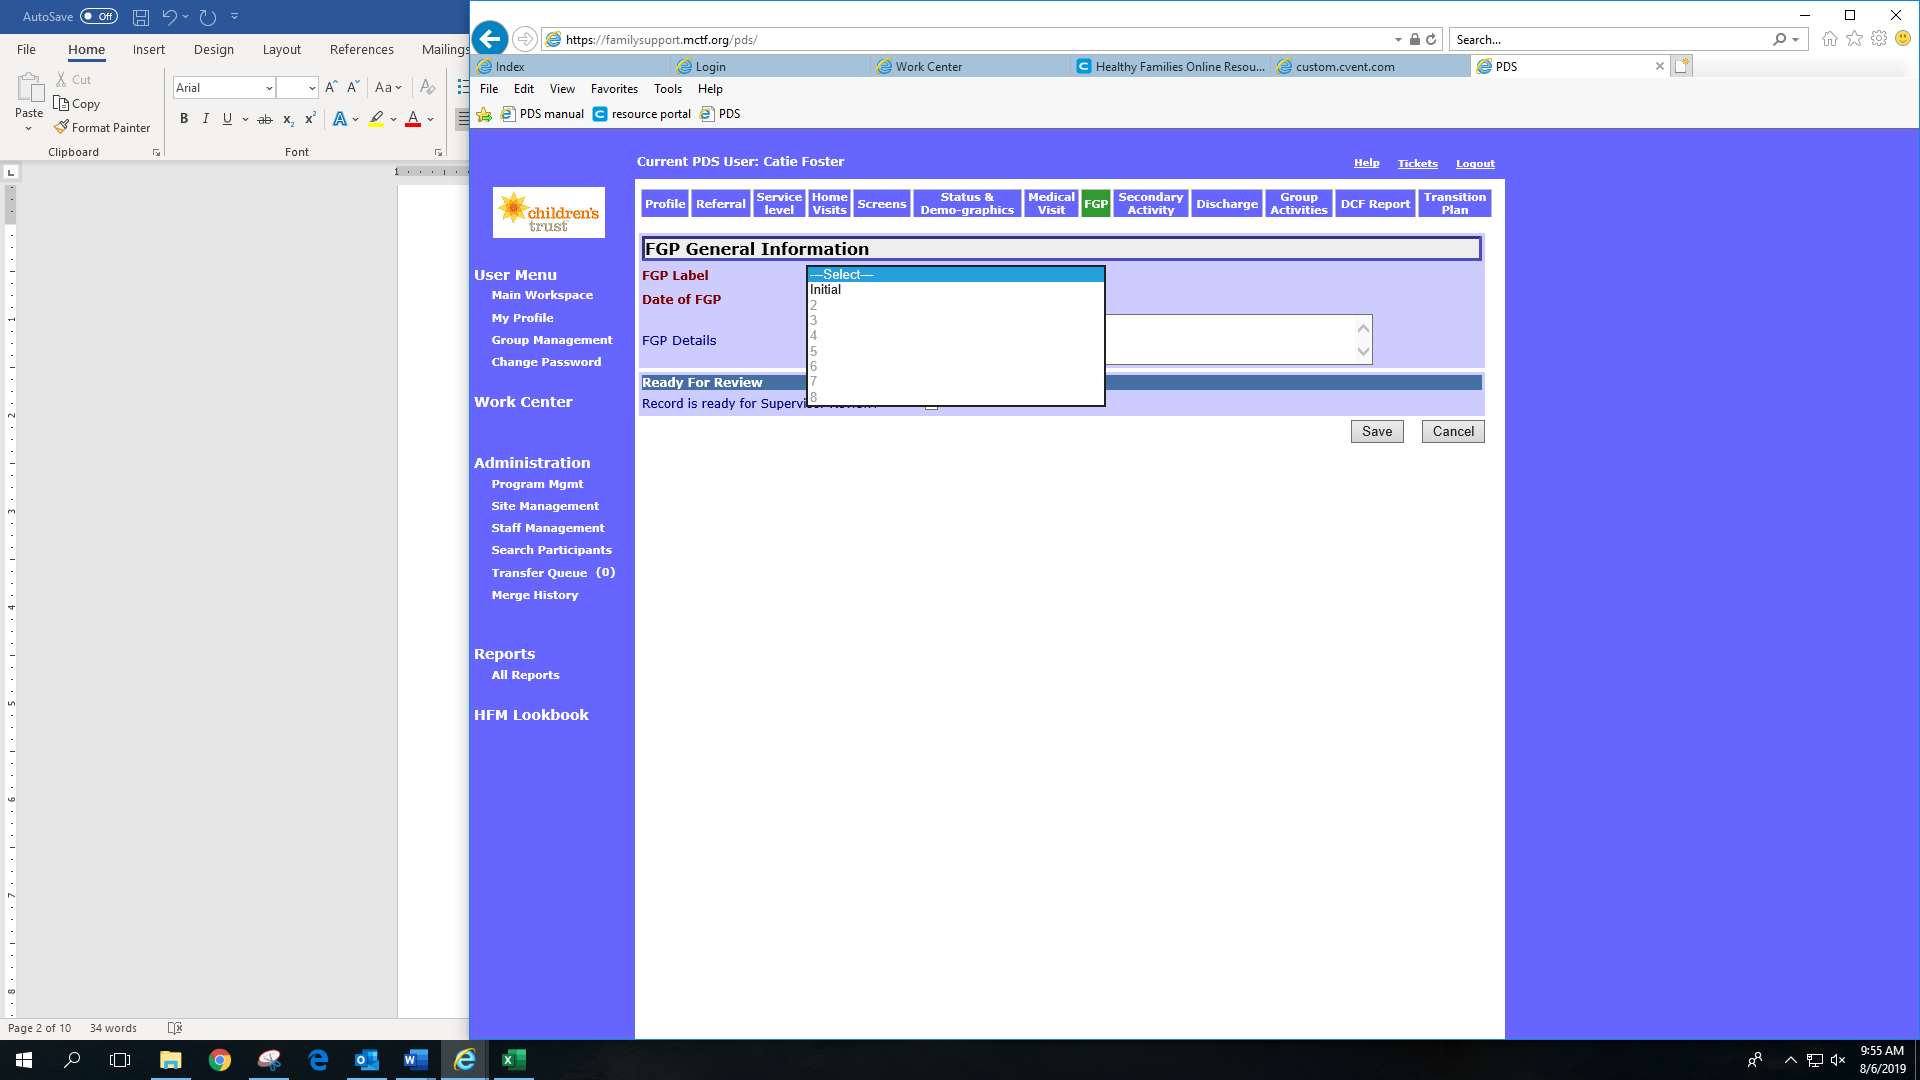
3.1 *FGP label: Each FGP must be labeled according to the order in which it is developed with the participant. The first FGP is labeled as “Initial” and labeled 2-8 after that. Select the label from the drop down menu.
When creating a new FGP, the drop down menu will only display the next available FGP label. In the example below, the next available FGP label is Initial. FGP labels 2-8 are greyed out and unavailable.
3.2 *Date of FGP: The date of FGP is the date that the participant signs the paper version of the FGP. This may or may not be the same date as the day the FGP is entered into PDS. Because the FGP is created on a home visit, the date of FGP should match the date of the home visit on which the FGP was finalized. The date of the FGP cannot be before the Date of First Contact, the Referral Date or the date of the first home visit.

3.3. FGP details: Enter a general description of the FGP and its contents. This could be a brief description of the goals, e.g. “participant will work on getting into college, getting baby fully immunized, and finding a new health care provider.” This field may also be left blank.

4. Save: Select to save FGP and return to the FGP workspace.
5. Cancel: Select to return to FGP workspace without saving.
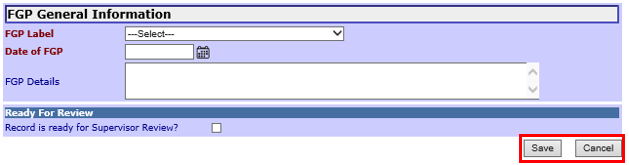
6. Ready for Review: Select to indicate that the information on the record is complete and ready for a supervisor or coordinator to review.

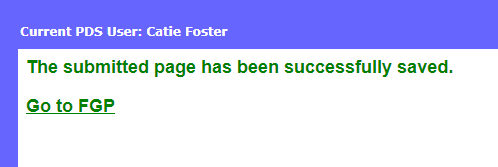
7. After saving an FGP, you should receive a confirmation message and see a link to go to the FGP you just created. If you are ready to add goals, click the link to begin adding them to the FGP. If you are not ready to add goals, you can return to the FGP page at another time to add them.
II. Add goals to an FGP
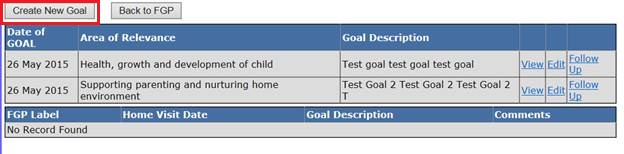
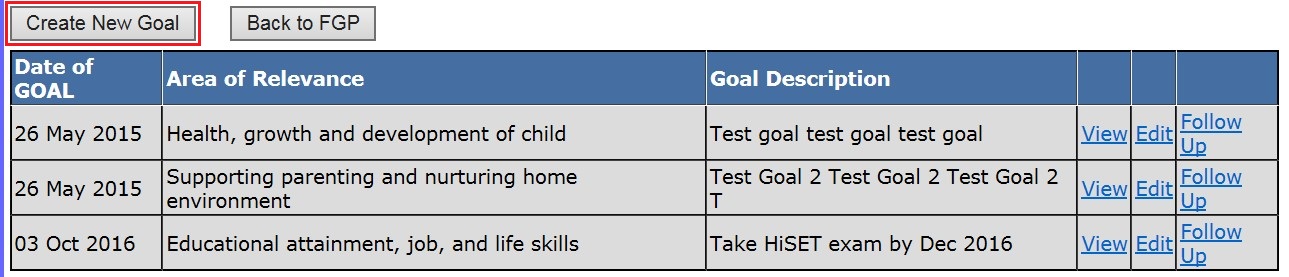
1. To add goals to an FGP, go to the FGP page and click Goals next to the appropriate FGP you have already created.

2. All goals on the FGP will appear on the Goals page. Click Create New Goal.
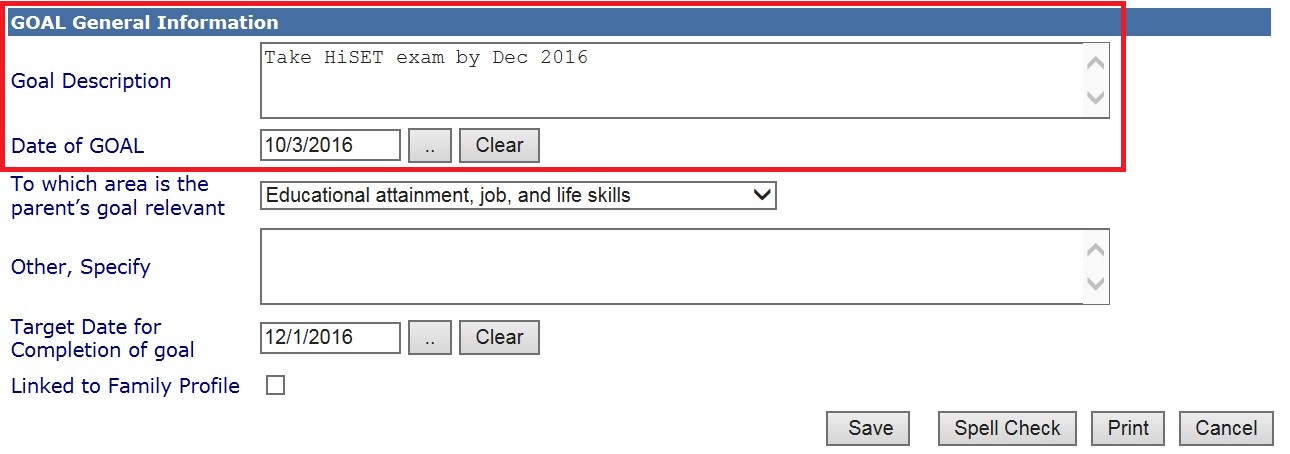
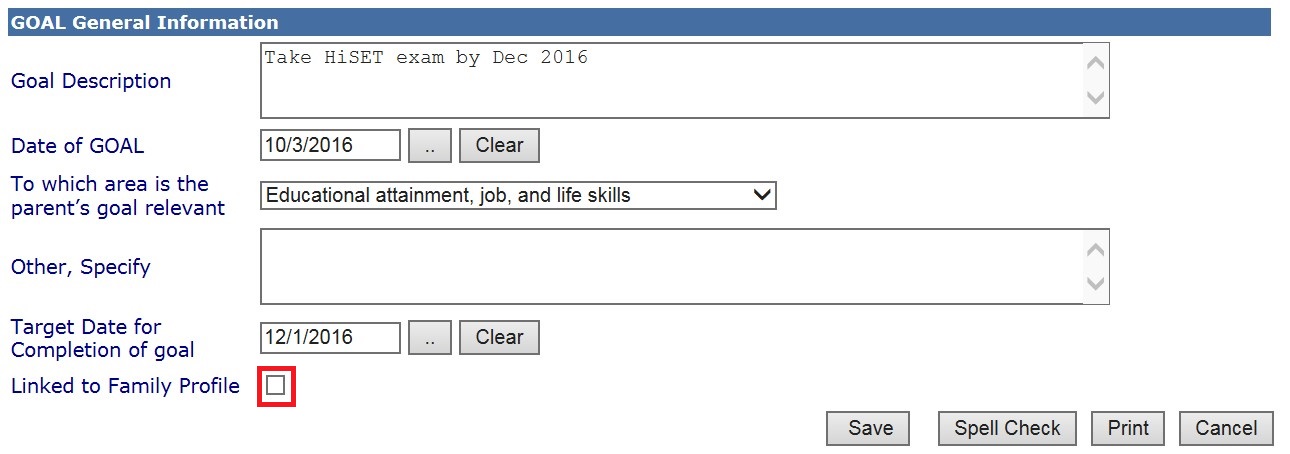
3. Document the following information in the “Goal General Information” section.
3.1 Goal Description: Fill in the description of goal, e.g., “Complete HiSET exam by June.” Do not enter action steps to achieve goals—only record goal statements.
3.2 Date of Goal: This is the date the goal was created. This will typically be the same date as the date of the creation of the FGP (i.e. the date the parent signed the FGP paper form). However, if this goal is created and added to the FGP at a later date, then the date the specific goal was created is entered here. For example, a FGP with a label of initial may have been created on September 8, 2018 with one goal with a Date of Goal as September 8, 2018. One month later a participant may indicate there is an additional goal that he/she is interested in pursuing. This goal would be added to the Initial FGP with a date of goal one month later (October 8, 2018).
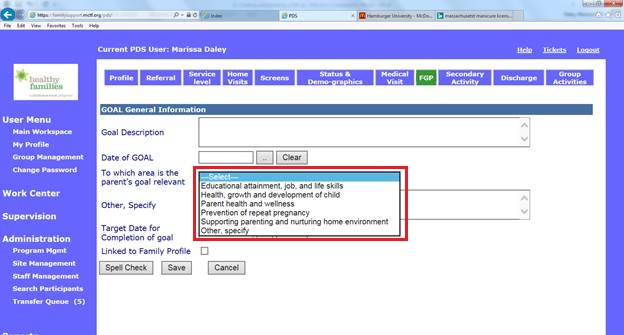
3.3 To which area is the participant’s goal relevant: Choose the goal area that will be addressed by this goal from the drop down menu. All FGP goals should be connected to a program goal.
3.4 Other, specify: If the goal does not match the HFM goals, select Other, specify from the drop down menu above write in the area to be addressed. Any goal that is in the category Other, specify should be reviewed with a supervisor.
3.5 Target date for completion of goal: Enter the target date of completion reflected by the timeline identified on the paper FGP form.
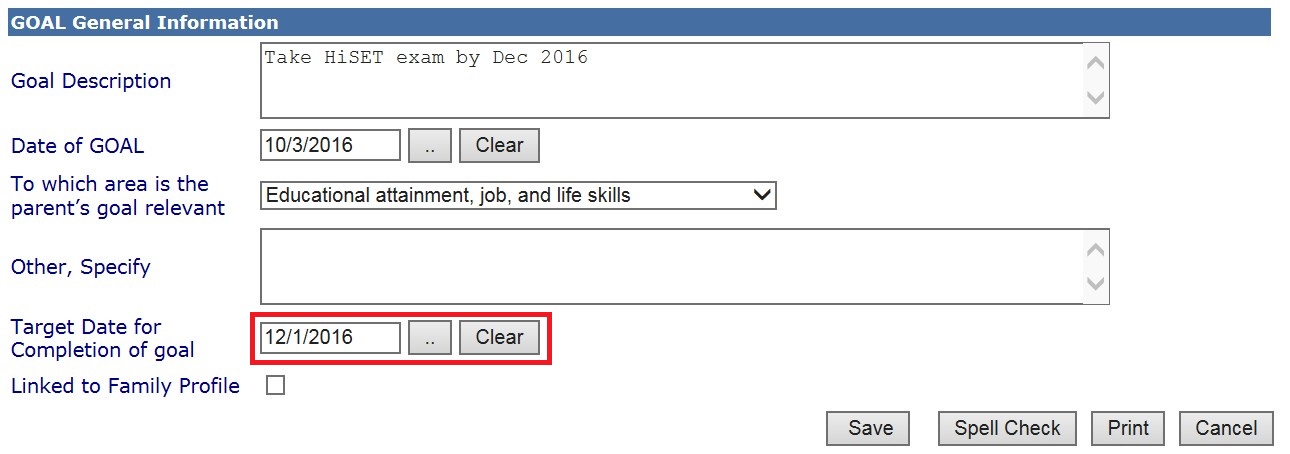
3.6 Linked to Family profile: Check this box if the goal is connected to information that was gathered during completion of the Family Profile.
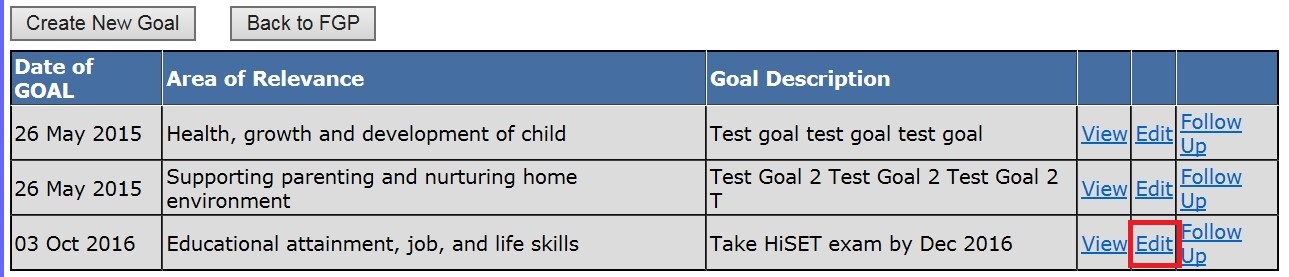
4. To edit an existing goal, find the goal you want to update and click Edit. Repeat the steps in section 2.3 to edit the goal.
5. To add additional goals to the FGP, click Create New Goal and repeat all the steps outlined in above to complete a goal. Goals can be added at any time during the six months the FGP is in place.
6. Save: Select to save the information and return to the FGP workspace.
7. Spell Check: Select to check the spelling of text entered on this page.
8. Print: Select to print the general Goal Information. The print button is only available after you save a Goal.
9. Cancel: Select to return to the FGP Workspace without saving.

III. Follow up on goals
1. In PDS, FGP Goal Follow Up refers to the final information about goal achievement when the FGP period closes. This includes whether the goal was completed and, if not, how much progress the participant made toward completing the goal. Each goal in PDS must have follow-up information completed.
Do not create more than one follow-up for any goal. Follow-ups can be created at any time in the six month duration of the FGP to track progress on goals and plan home visits. This information can be edited throughout the six months. At a minimum, follow-up must be completed at the six month review of the FGP.
Incremental progress toward goal achievement is recorded in the Home Visit Record in the FGP Goal Comments section. See Creating a Home Visit Record for instructions on how to enter information about incremental FGP goal progress.
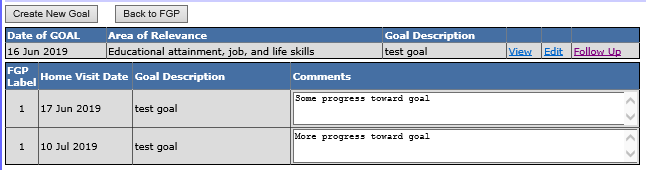
2. To see all FGP comments from Home Visit records, click Goals on next to the appropriate FGP.

2.1 The home visit notes on these goals will display on the screen. This allows home visitors and supervisors to quickly review the frequency and nature of the conversations about goals on home visits.
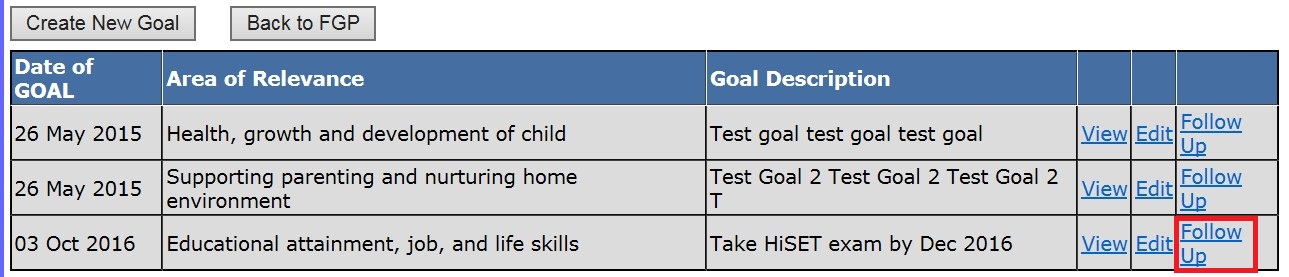
3. To enter follow-up information for an FGP goal, select Goals for the FGP.

4. Select Follow up for the goal.
5. Select New Goal Follow-up.

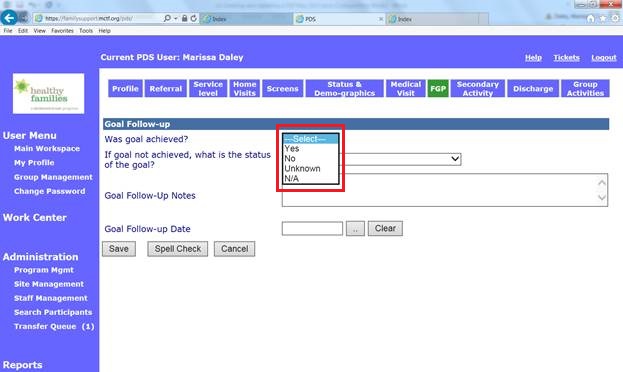
6. Complete information under the “Goal Follow-up” section.
6.1 Was goal achieved? Select the appropriate response from the dropdown menu.
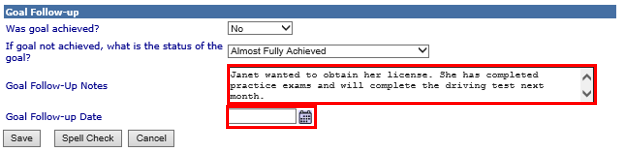
6.2 Was goal achieved?If goal not achieved, what is the status of the goal? Complete this if the answer to Was goal achieved? was No. Select the appropriate outcome from the dropdown menu.

6.3 Goal Follow-Up Notes: Enter information about the action steps and/or follow up that was completed/not completed by the participant.
6.4 Goal Follow-Up Date: Enter the date that the participant achieved the goal or the home visitor completed follow-up indicating result of the goal.
7. Save: Select to save the information and return to the Follow-up Workspace.
8. Spell Check: Select to check the spelling of text entered on this page.
9. Print: Select to print the follow-up information. Page must be saved before using this feature.
10. Cancel: Select to return to the Follow-up Workspace without saving.
Creating and Updating a FGP (Sept 2019)
©2019 MA Children's Trust