
CREATING A BIRTH RECORD
How to use this PDS section: One birth record is created for each target child in a family. If a family has two primary participants, create the birth record from the participant’s record that was first enrolled in the program. A birth record cannot be created until a pregnancy record has been completed. For information on how to create a pregnancy record see the Creating a Pregnancy Record section of the manual. If a participant has multiple births for one pregnancy, e.g. twins, then staff must create a separate birth record for each child. Birth records should only be completed for target children.
Why this information is important: A birth record records a target child’s birthdate, which in turn sets schedules for important screenings, immunizations, and other child development and health-related milestones.
HFM policies related to this PDS section: Eligibility Policy, Health Care Access Policy, Home Visiting Policy and Standardized Assessment and Information Gathering Policy
Step-by-Step Instructions
Fields with an asterisk (*) are required.
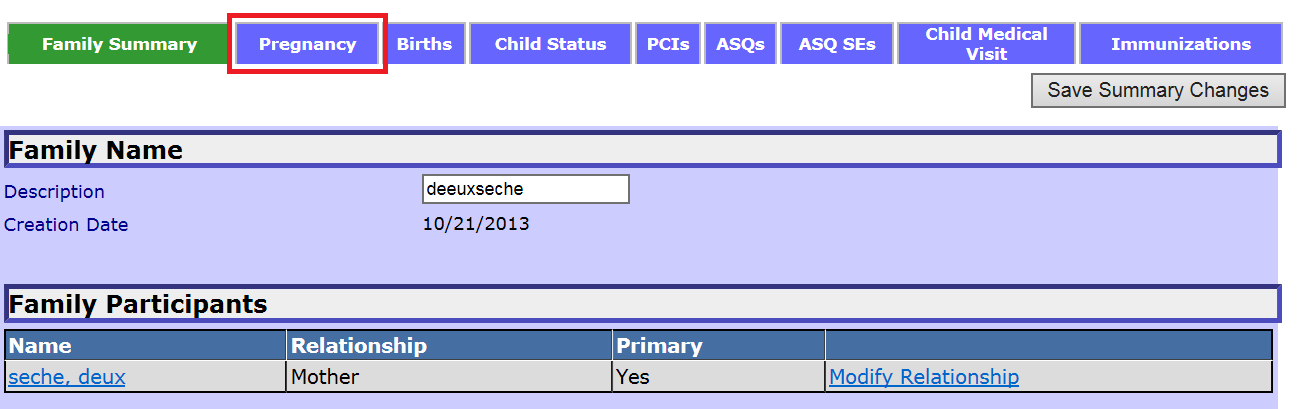
1. Go to the participant’s record and on the Profile page and click Edit. 
2. Click on the Pregnancy tab at the top of the page.
3. Find the pregnancy record under the “Pregnancy History” section and click Edit.
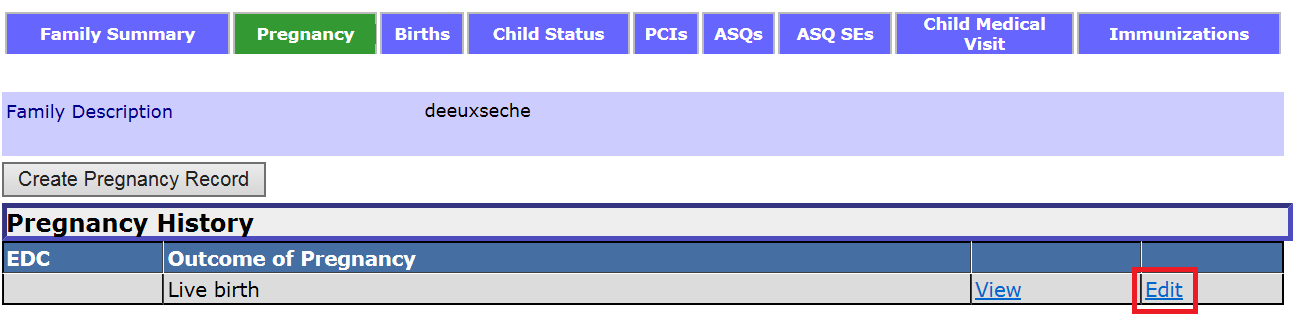
4. In the pregnancy record, click Save and Create Birth Record.
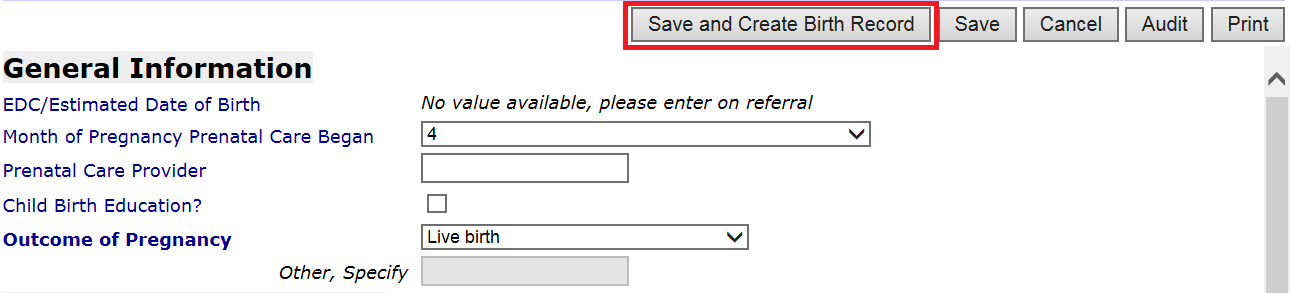
5. You will see a message noting that the pregnancy record has been successfully saved. Click Create Birth Record For This Pregnancy.

6. You should now be on the birth records page under the “Births” tab. In the “General Information” section enter the following information:
6.1. *Baby's Last Name: Enter the baby’s last name (PREG-SI 6, PPF 7).
6.2. *Baby's First Name: Enter the baby’s first name (PREG-SI 6, PPF 7).
6.3. *Baby's Middle Name: Enter the baby’s middle name (PREG-SI 6, PPF 7).
6.4. Child Status:
6.5. *Baby's DOB: Enter the baby’s date of birth (PREG-SI 7, PPF 6).
6.6. *Gender: Select the baby’s gender as identified by the participant: (Preg-SI 8, PPF 8)
6.7. *Ethnicity: Select the baby’s ethnicity as identified by the participant. (Preg-SI 39, PPF 95)
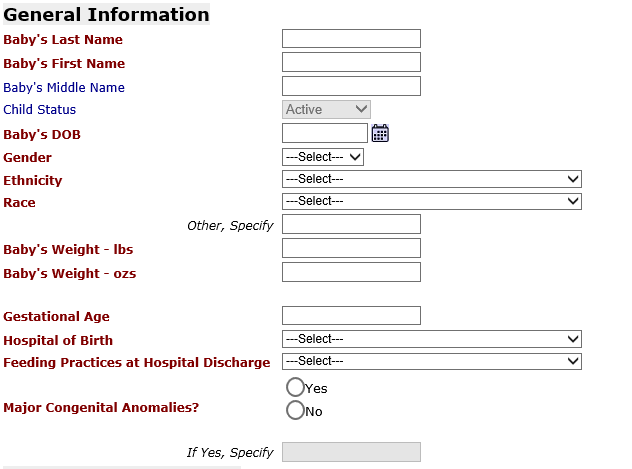
6.8. *Race: Select the baby’s race as identified by the participant: (Preg-SI 40, PPF 96)
6.8.1 Other, Specify: Enter the baby’s race as identified by the participant if the race is not included in the drop down menu above.

6.9. *Baby's Weight – lb*: Enter the number of pounds the baby weighed at birth. For example, if the baby weighed 7 lbs, 5 ounces, enter 7 in this field (PREG-SI 19, PPF 28).
6.10. *Baby's Weight – ozs: Enter the remaining ounces of the baby’s weight at birth. For example, if the baby weighed 7 lbs, 5 ounces, enter 5 in this field (Preg-SI 19, PPF 28).
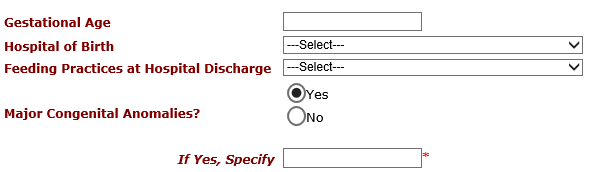
6.11. *Gestational Age: Enter the number of weeks the mother was pregnant with the child. This can be determined by subtracting the delivery date by the EDC date if a baby was born prior to the EDC or by subtracting the EDC date by the delivery date if the baby was born later than expected.

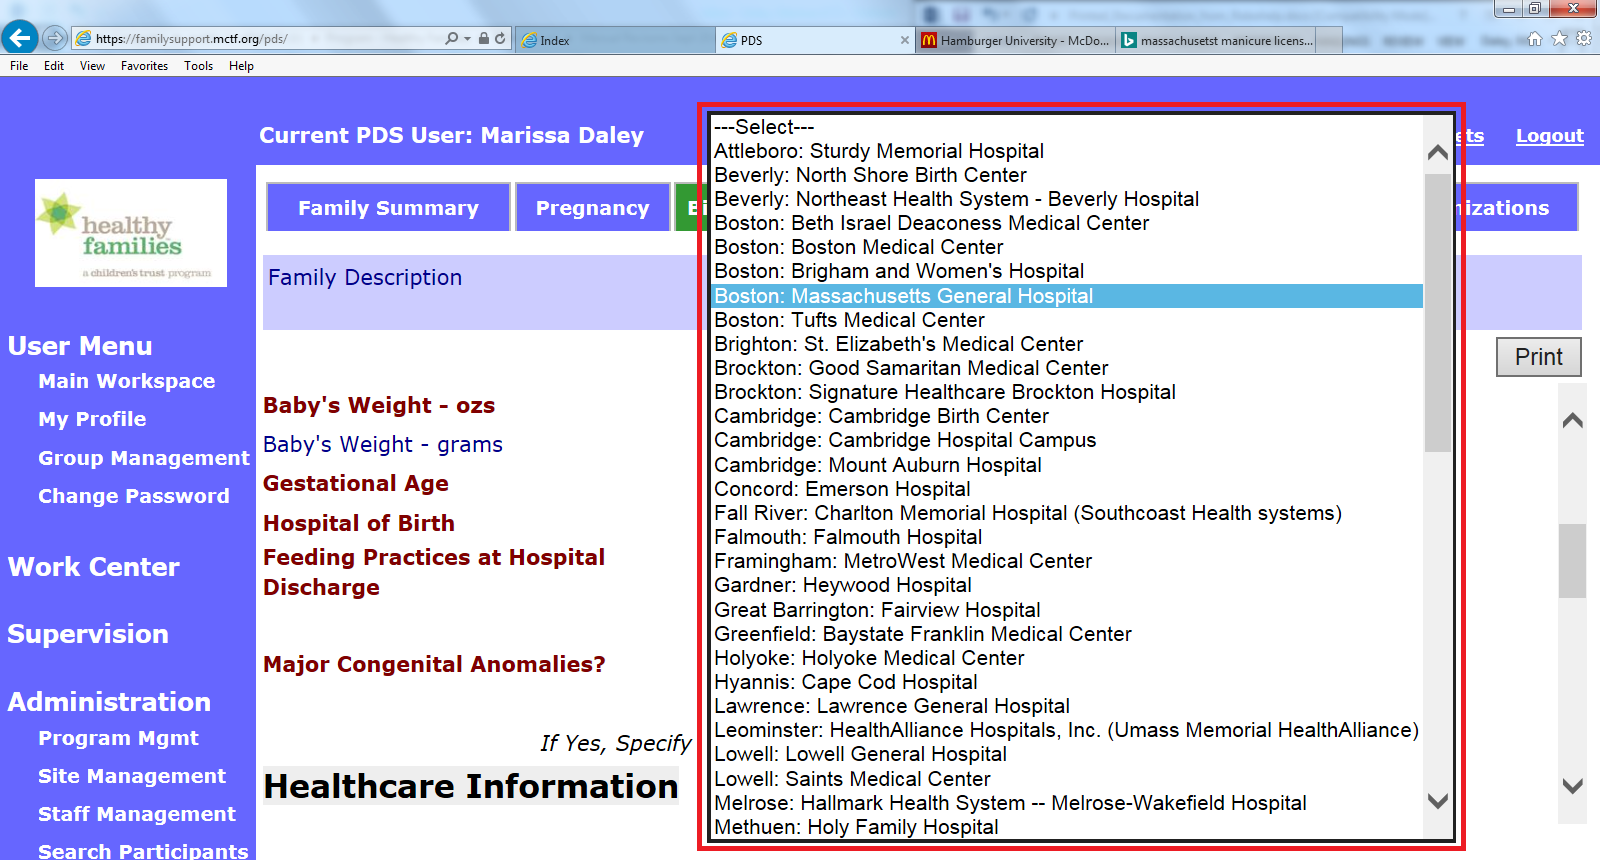
6.12. *Hospital of Birth: Select the name of the hospital at which the baby was born from the drop down menu. If the baby was not born at a hospital or you do not know which hospital the baby was born at, choose from the following (PREG-SI 20, PPF 29):
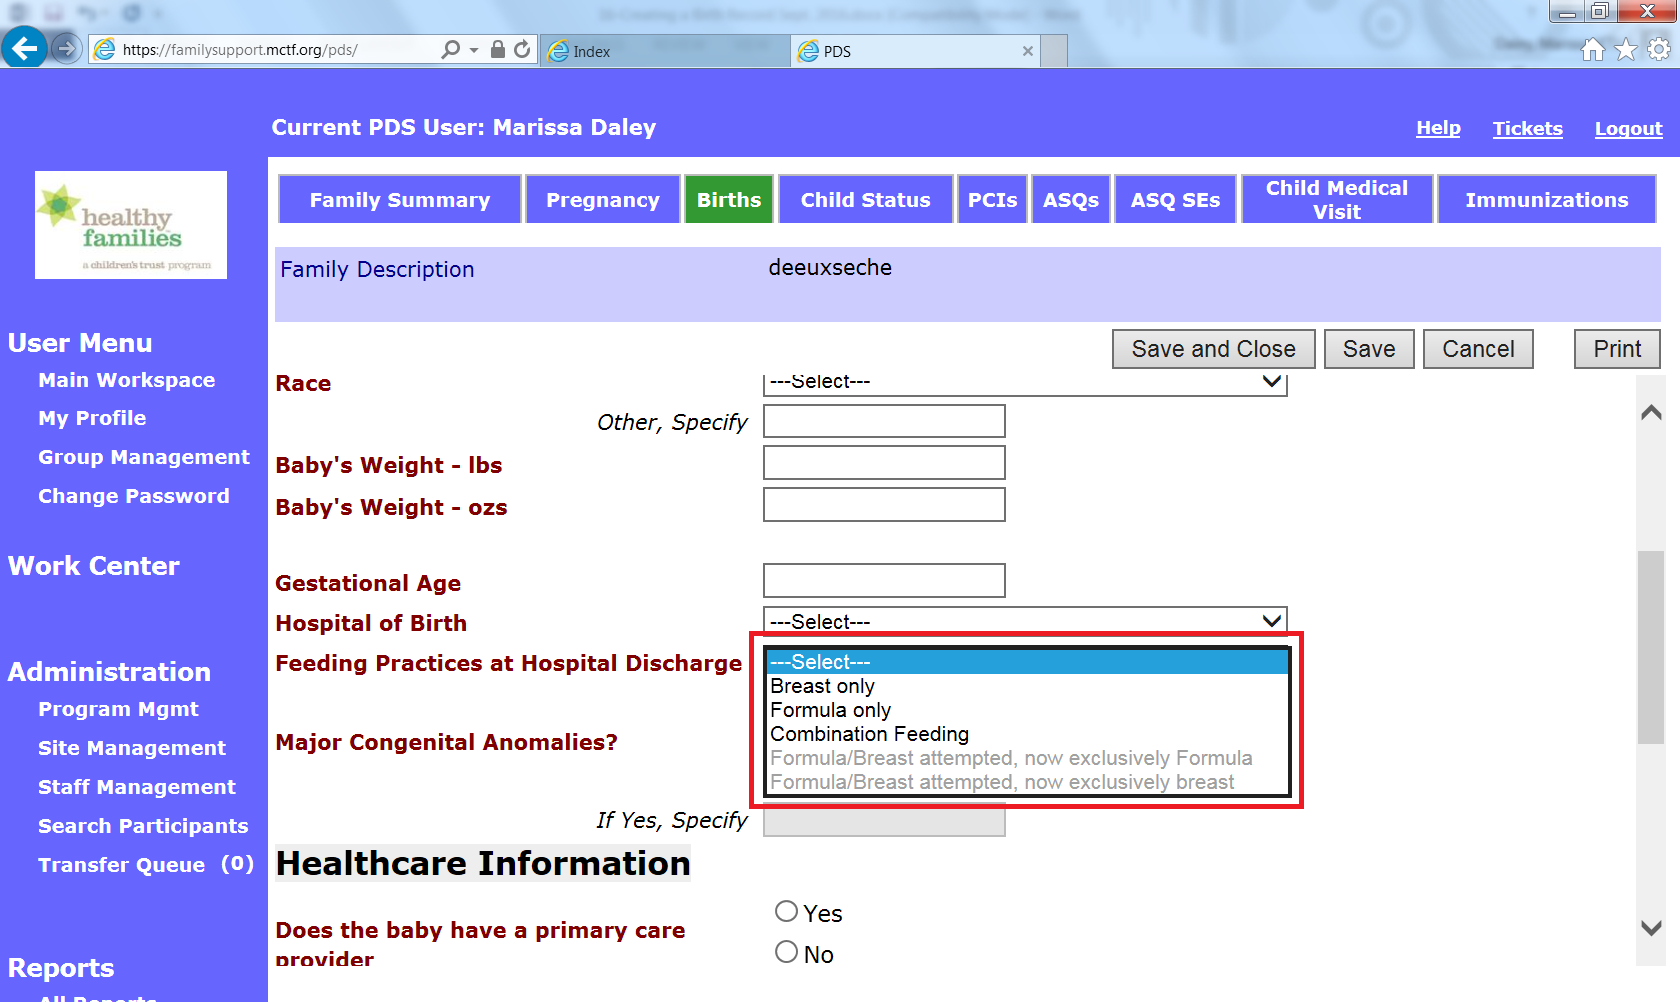
6.13 *Feeding Practices at Hospital Discharge: Select the best description of the baby’s diet at the time of discharge from the hospital (PREG-SI 17, PPF 25).
6.14 *Major Congenital Anomalies (PREG-SI 31, PPF 53, 55)?
6.14.1 *If Yes, Specify: Describe the major congenital anomalies identified by the baby’s health care providers. This field is required if you selected Yes to Major Congenital Anomalies.
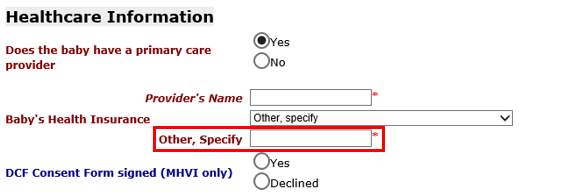
7. In the “Healthcare Information” section, enter the following information:
7.1. *Does the baby have a primary care provider (PREG-SI 28, PPF 49):
7.1.1 *Provider’s Name: If the baby does have a primary care provider, enter the provider’s name. This can be the name of a health care provide or a health care practice. For example, enter Dr. Lucasi or Family Health Center of Worcester. This field is required if you selected Yes to Does the baby have a primary care provider.
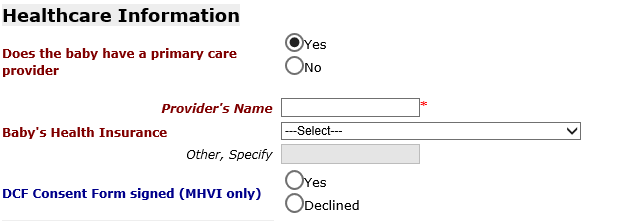
7.2. *Baby's Health Insurance: Select the option from the dropdown menu that best describes the kind of health insurance the baby has (PREG-SI 30, PPF 46 and 47).
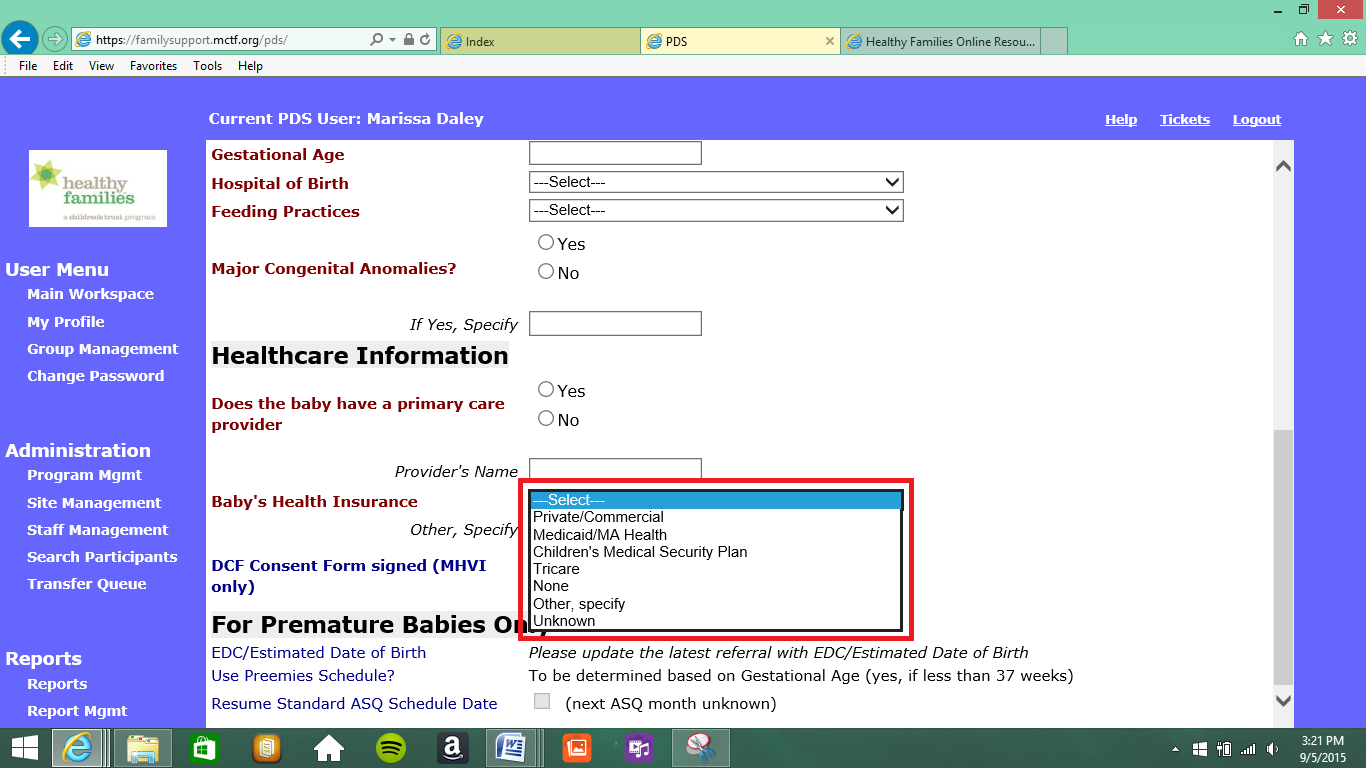
7.2.1 Other, Specify: Enter the baby’s health insurance if you selected Other, Specify in Baby’s Health Insurance. This field is required if you selected Other, Specify.
7.3. DCF Consent Form Signed (MHVI only):

8. In the “For Premature Babies Only” section, enter the following information:
8.1. EDC/Estimated Date of Birth: This information will pre-populate based on the EDC entered on the Referral page.
8.2. Use Preemies Schedule?: This information will pre-populate based on the Gestational Age at Birth entered.
8.3. Resume Standard ASQ Schedule Date:
An adjusted schedule to complete ASQs will automatically go into effect based on the gestational age at birth indicated on the birth record. The adjusted schedule will remain in effect until the child is 24 months old. At that time the ASQ windows will revert back to the standard schedule based on child date of birth. If a family receives guidance from their pediatrician that the child should resume a standard ASQ schedule prior to 24 months, click Resume Standard ASQ Schedule Date in the “For Premature Babies Only” section. A note will appear next to the check box displaying the next possible date that the Standard ASQ schedule can be resumed.

9. Save and Close: Select to save birth record and return to the birth workplace.
10. Save: Select to save the information and continue editing the birth record.
11. Cancel: Select to return to the birth workplace without saving.
12. Print: Select to print the birth record information. Information must be saved before using this feature.

13. Ready for Review: Select to indicate that the information on the record is complete and ready for a supervisor or coordinator to review.
![]()
Creating a Birth Record (Sept 2019)
©2019 MA Children's Trust